DIY Spooky Halloween Village
I visited a local gift shop that sells miniatures and they had the greatest Christmas and Halloween village displays complete with lights and sounds and I was in love. Halloween has always been my favorite holiday and the thought of a DIY Halloween village made me very happy. Even though this display was huge, probably 10′ x 5′ with multiple levels I knew I could make one just as spectacular on my own. Besides, who doesn’t love a challenge?
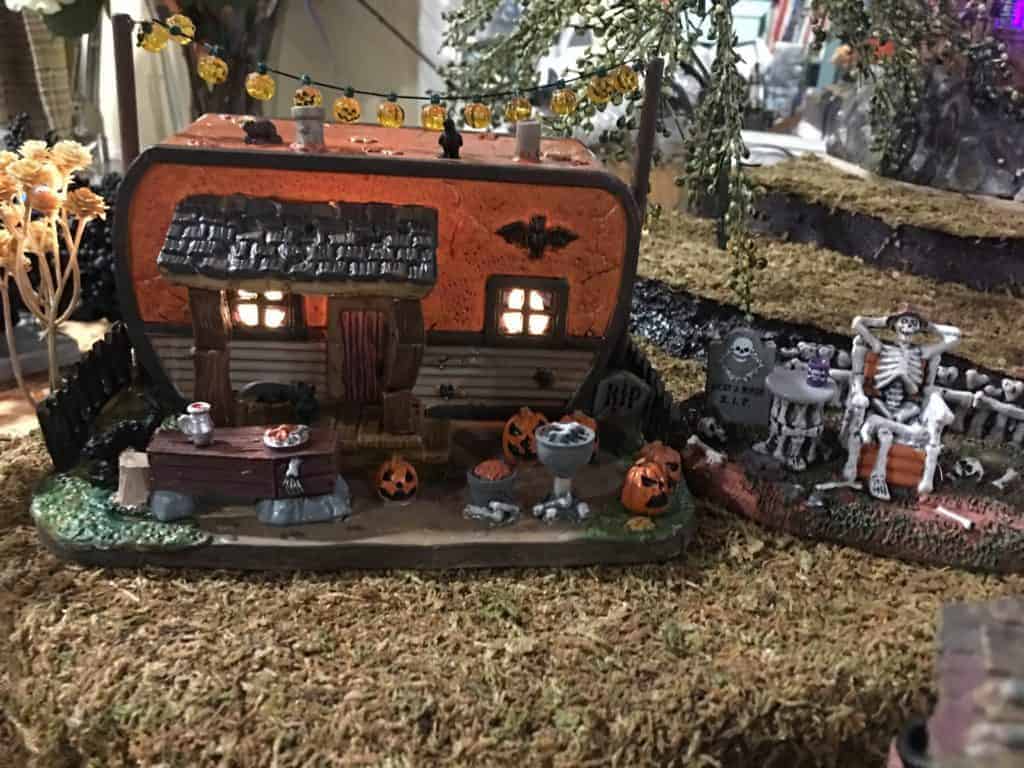
In the image below you can see an “in progress” view of how I put the display together.

Making the DIY Halloween Village display
Step 1 Make the base
To make the base measure and cut 1 x 2 boards to build a rectangular frame to fit on your table. I used an 8′ folding table as my base.
Use 2 x 2 boards for the legs. You can make the legs as tall as you want but you’ll will want the base to be elevated off of the table enough so you can hide all of your cords and strip cords underneath. I’ll explain how to hide the cords in another step.
Step 2 Build up the levels
Use pink insulation board (from Home Depot) to make the layers and give the display some height and levels. To do this cut your first level to the size of the entire display. This will act as your base and top of the frame. You could attach a piece of plywood to the top of the frame if you want to make it more permanent but keep in mind this frame will be heavy. This is why I decided to use the insulation board as my frame top.
Then you will want to decide where you want your second level and how you want it to look. This will also take up quite a bit of space of the first level, or not, depending on what look your going for. I built mine with the lower levels in the front and built up to the highest levels in the back because my display was going against a wall. However, if your display will be in the center of a room then you will want your highest levels in the middle with lower levels all around it.
You can also create different levels by using different thicknesses of the insulation board. You can see in my photo that I used a thick board as the base and a thinner one for the second level. Then again for the 3rd level I used the thick board again. Mix and match your thicknesses to create a more life like effect.

Step 3 Adding the ground cover
After you get your levels exactly how you want them you can cut or file the edges to get different effects. Keep the edges jagged and paint it for a rocky look or file it smooth if your going to be gluing something to the surface to help it stick.
There are many things you can use to make your ground cover. I used a combination of sheet moss, felt, sand and stone dust. Use your imagination and I bet you can find lots of things in your own back yard that will work great.
Step 4 Add your houses
The next step would be to position your Halloween village houses on the base and test out how it looks. Move them around until you get the look you want. I used each different level as kind of a “yard” for each house but you can add as many or as few houses as you want.
For some great Halloween miniatures try the Lemax Spooky Town collection here.
Step 5 Make your landscape layout
Now is the time to start connecting your neighborhoods. Start with roads, pathways, ponds, and rivers then add fences, walls, trees or whatever else you want to include in your design. Here your just laying out your display and connecting your houses and other elements together so they make sense.

Step 6 Add some details
Now is the time to start adding some little details to your DIY Halloween village. Work on edging your walkways with different elements. Add in smaller trees and bushes. Pretty up the edges of your levels and yards with rocks, paint, grass, etc. Add smaller buildings, vehicles and other structures.
Department 56 quite a few different Halloween collections with great accessories.

Step 7 Finish with the tiniest of details
Finally you will want to add your people, animals, gravestones, lights, signs, etc. This stage is what will take your display from “okay” to “NO WAY”!


Check out this video clip of the finished product on Halloween night. I apologize for the quality because it was very dark in the room but I think you can see enough of the details.
I hope you enjoyed my Spooky DIY Halloween Village.
Related Posts…
Where did you get your tiny pumpkins for your patch?
I got them at Michael’s Crafts years ago.
What did you use for the streets? They look amazing – awesome job!
Thank you 😊 They’re cut up strips of textured felt that looks like pebbles