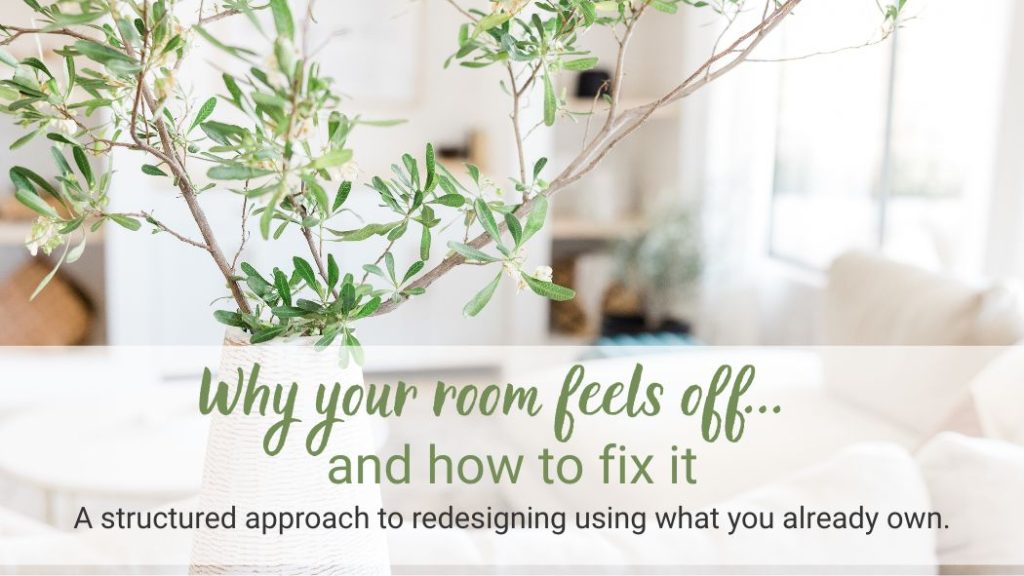
Why Your Room Still Feels Off (Even After Buying Something New)
You’ve moved the sofa.
You’ve swapped pillows.
You may have even bought something new hoping it would finally fix the space.
And yet… the room still feels off.
Most of the time, the problem isn’t your furniture.
And it isn’t that you need something new.
It’s the order you’re making decisions in.
After redesigning rooms for real clients, I started noticing a pattern. When a room doesn’t feel right, it’s rarely because of what’s in it. It’s because there isn’t a clear sequence guiding the decisions.
A one-day room reset can absolutely work — but only when you follow the right process. And this is the exact structured process I use inside my One-Day Design System — but first, let’s look at why rooms feel off in the first place.
Phase 1: Reset — Clear the Space
Before you can redesign a room, you need to see it clearly.
Most people try to improve a room while everything is still in place. They adjust, tweak, and layer new decisions on top of old ones. But when nothing has been intentionally reset, every choice becomes reactive.
Clearing the space removes visual noise and emotional attachment. When accessories, artwork, and smaller furnishings are out of the way, you can finally evaluate the architecture of the room itself. You can identify the natural focal point. You can see traffic flow. You can recognize imbalance.
This step creates clarity.
And clarity is what makes confident decisions possible.
Without a true reset, you’re just rearranging.

Phase 2: Define — Determine the Room’s Function
Before deciding how a room should look, you have to decide what it needs to do.
This is where most redesign attempts quietly fail.
A room may look beautiful in photos, but if it doesn’t support daily life, it will always feel frustrating. Furniture will feel awkward. Traffic flow will feel off. Seating won’t make sense.
When function is unclear, styling becomes guesswork.
Defining the room’s primary purpose creates direction. Is it a TV room? A conversation space? A dining area? A workspace? A combination?
Once you commit to the real function — not the aspirational one — furniture placement becomes easier. Lighting decisions become clearer. Layout feels intentional instead of random.
Function first. Always.
Phase 3: Clarify — Choose the Focal Point
Every well-designed room has a focal point.
It’s the feature your eye lands on first when you walk in.
Without one, a room feels scattered. Your eye doesn’t know where to rest. Furniture feels randomly placed. Accessories compete instead of support.
Most people choose a focal point based on décor.
That’s backwards.
The focal point should be based on structure and layout first — not styling.
It might be a fireplace.
A large window.
A built-in.
A bed.
Even the TV.
Once that decision is clear, everything else has direction.
Furniture faces it.
Layout supports it.
The room stops fighting itself.
Clarity creates cohesion.

In the photo above you will notice that they did not address the focal point or the function of this room. Without seeing the whole room, I would pick the fireplace as the focal point and arrange my furniture to face that. Also, the rocker is right in front of the door which isn’t the best spot as far as traffic flow is concerned.

Here is another room that does address the focal point. This room is set up perfectly to enjoy the fireplace, TV viewing, and for conversation with guests.
If you need help identifying which type your room has (or should have), here’s how to find the best focal point of a room.

we’ve been featured in redfin!
Redfin reached out to us and other interior design experts for our best-kept secrets on how you can redesign your home to create a functional yet stylish space without breaking the bank. From a fresh coat of paint to using what you have on hand, keep reading to discover ten ways to give your home a makeover – you might be surprised by these simple solutions.
Decorating with Good Bones: 10 Ways to Redesign Your Home on a Budget
Phase 4: Anchor — Place the Largest Pieces First
Now that the focal point is clear, structure begins.
Most people make the mistake of bringing everything back into the room at once. They scatter furniture, adjust endlessly, and hope it works itself out.
But rooms don’t fix themselves.
They’re anchored.
The largest, most important furniture pieces should be placed first — intentionally and in alignment with the focal point. These pieces establish the footprint of the room. They determine traffic flow. They create balance.
If the main pieces are wrong, nothing else will feel right.
No amount of styling or accessorizing can correct poor structural placement.
This is the moment to slow down, step back, and evaluate proportion, spacing, and alignment before adding anything smaller.
Structure first. Details later.

At this point, most people would normally start buying something new. But the difference between rearranging and redesigning is following a defined sequence. The full One-Day Design System walks you through every phase in order — with printable guidance so you don’t second-guess yourself 👉 Explore the full system here.
Phase 5: Build — Add Supporting Pieces Intentionally
Once the main furniture is anchored, the room begins to take shape.
Now you add what the space actually needs — not what it used to have.
This is where discipline matters.
Most people clear a room… and then slowly put everything back exactly where it was.
If it didn’t work before, it won’t work now.
Instead, this phase is about strengthening the layout you just created. Supporting pieces should serve a purpose — whether that’s function, balance, or comfort. Side tables and additional seating — each item should improve the room, not just fill space.
And this is where the real shift happens:
You shop your home first.
You look for better options.
Stronger scale.
Better proportion.
Improved balance.
If it doesn’t make the room better, it doesn’t come back in.
Intentional design requires restraint.
Phase 6: Refine — Complete the Structural Balance
Before you begin decorating, the room needs refinement.
Up to this point, you’ve focused on layout and function. Now you’re finishing the framework.
This phase is about balance — both horizontal and vertical.
Lighting should feel evenly distributed. One dark corner can make an entire room feel heavy. Window treatments should support the height and proportion of the space, not cut it off visually.
These adjustments may seem subtle, but they dramatically affect how a room feels.
This is not decorating.
This is correcting proportion, light, and architectural framing before adding personality.
When structure is fully balanced, the room begins to feel calm — even before accessories are introduced.
You might like this…
If your room is small and you want to make it feel bigger, then read my post “How to make a small room feel bigger” and get my tips and tricks.
Phase 7: Personalize — Layer with Intention
Only after structure is complete should you begin layering decor.
This is where many redesign attempts go wrong. Styling becomes the focus too early — before the foundation is solid.
Personalizing is not about filling empty space.
It’s about reinforcing what you’ve already built.
Wall elements should strengthen the focal point. Accessories should add warmth and texture without competing for attention. Soft furnishings should soften the structure, not overwhelm it.
If everything is special, nothing is special.
Restraint is what makes a room feel intentional instead of cluttered.
At this stage, you’re not asking, “Where can I put this?”
You’re asking, “Does this make the room stronger?”
When you layer with discipline, personality emerges naturally.
You might like this…
Need help with accessorizing? Read my post “How to decorate like a pro.”
Phase 8: Finalize — Confirm and Correct
Design doesn’t end when everything is placed.
It ends when the room feels calm.
This final phase is about stepping back and seeing the space clearly. Often, the difference between a “good” room and a finished one is subtle — a slight imbalance, one competing element, a bit too much visual weight on one side.
The final edits are rarely dramatic.
They’re disciplined.
Removing one item.
Shifting something slightly.
Allowing more breathing room.
This is the moment where you stop placing and start observing.
When a room feels settled — not busy, not forced, not overworked — that’s when it’s done.
And once you’ve moved through this full process, you begin to see differently. You notice imbalance faster. You recognize clutter sooner. You trust your decisions more.
That’s not decorating.
That’s learning how to think like a designer.
Why Rearranging Feels Frustrating (And Why This Works)
| Random One-Day Refresh | A Structured Redesign Process |
|---|---|
| Start with styling | Start with reset and function |
| Move furniture repeatedly | Follow a defined sequence |
| Buy something new to “fix” it | Use what you already own |
| Make decisions emotionally | Make decisions intentionally |
| End up adjusting things for weeks | Complete it in one focused session |
The difference isn’t effort.
It’s order.
If this process makes sense to you, the full One-Day Design System walks you step by step through the complete guided working session — with structured phases, action steps, and printable guidance you can follow in one focused day.
It’s the exact process I’ve used in real homes, now organized so you can use it yourself.
Learn More below ⬇️⬇️
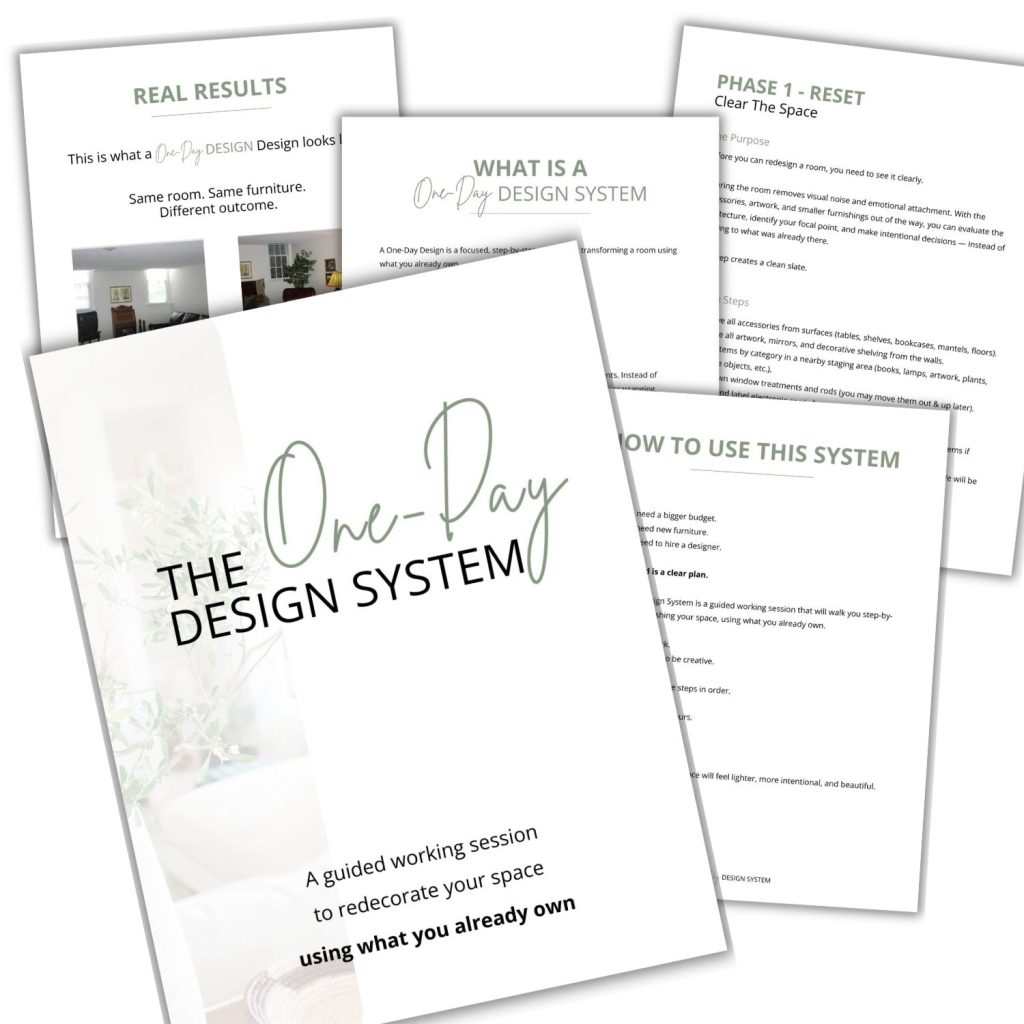
The One-Day Design System
A guided, step-by-step working session to redecorate your space using what you already own.
The same one-day transformation process I’ve used in real homes — now structured into a clear system you can follow.
Related Posts…


